Jack the car & remove the front tires
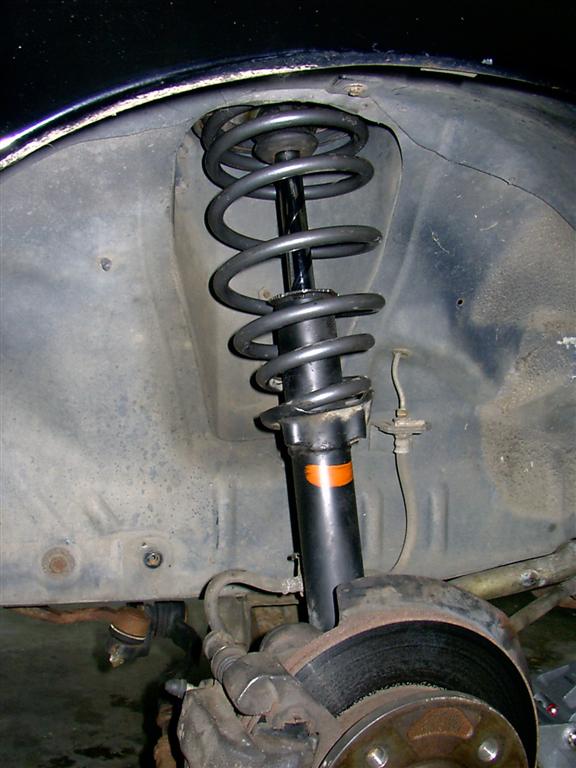
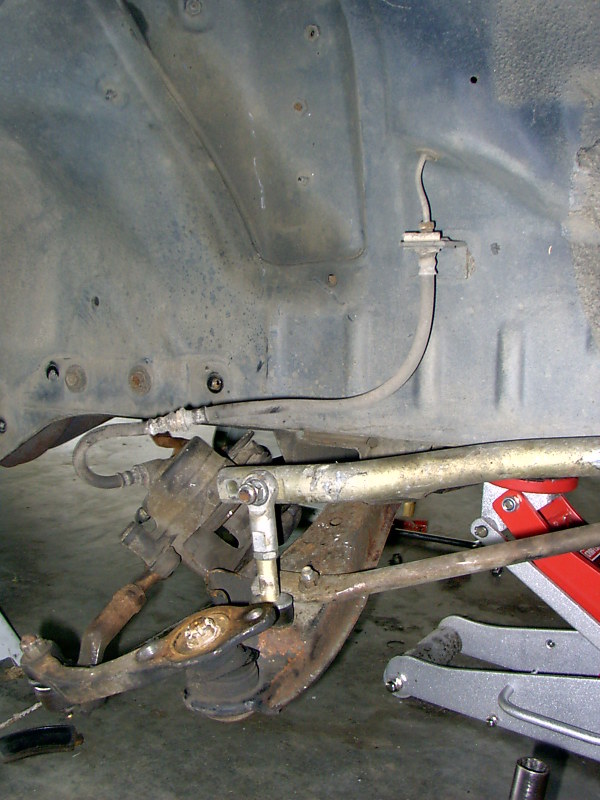
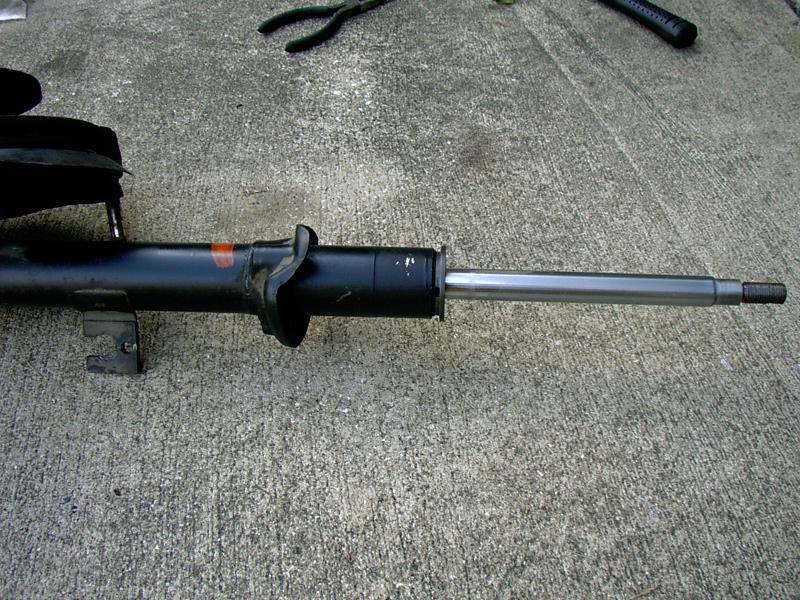
The main problem I had the first time and most other people have had was removing big strut lockdown nut. This was very hard with the strut out, so I did it with the strut still on the car. With it jacked, I just put a pipe wrench on it and banged on it a couple times with a hammer. Once it loosened a little, I continued removing the suspension. You can see the pipe wrench teeth marks in this photo.
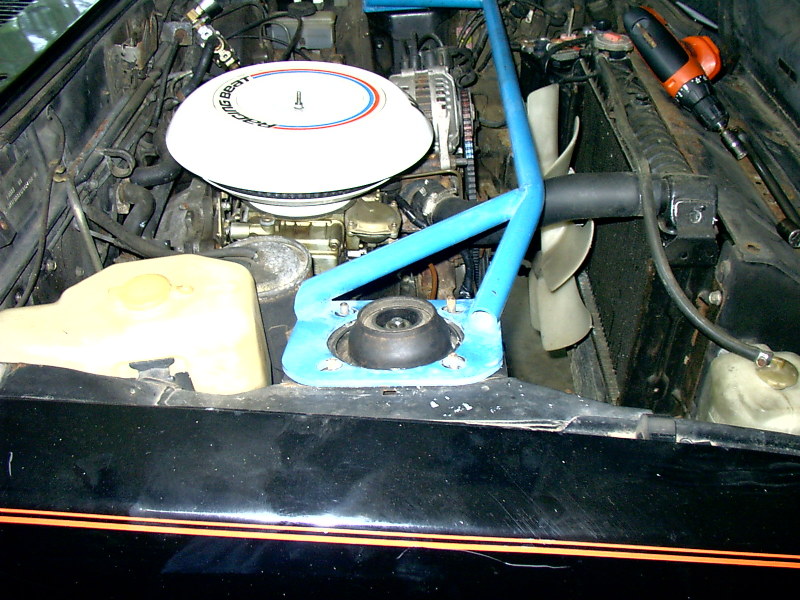
I then removed the four 14mm nuts on the strut top.
Then remove the brake caliper and bolt on the bottom and remove the caliper and set it aside. Make sure the pad clips don't get lost. I spent a few minutes looking for one when I needed it later.... Also use needle nose pliers or a flat head screw driver to remove the clip that keeps the brake line to the side of the strut tube. Don't lose this either.
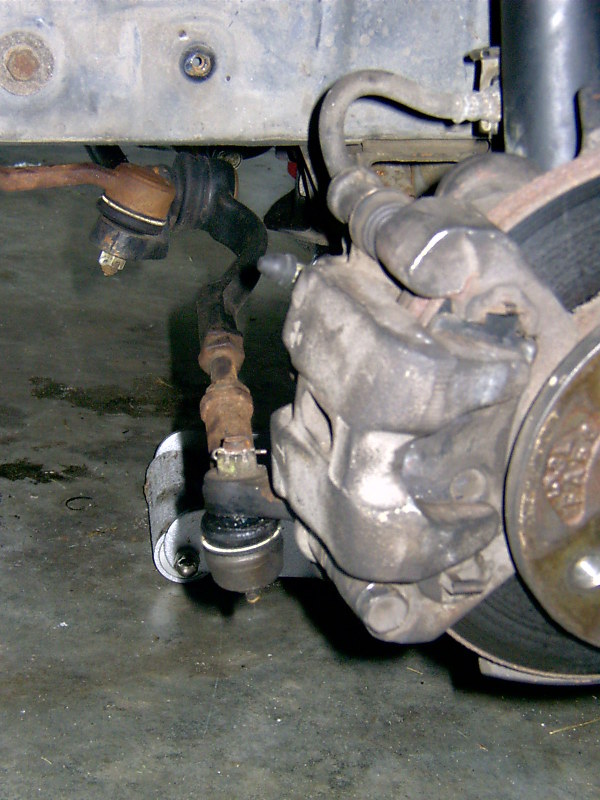
Then remove two 17mm bolts which connect the strut tube to the control arm. Here's a picture. The easy way to do this is to turn the wheel all the way one way, remove the exposed bolt, then turn it the other way to get access to the other bolt. Here's a picture of the front one.
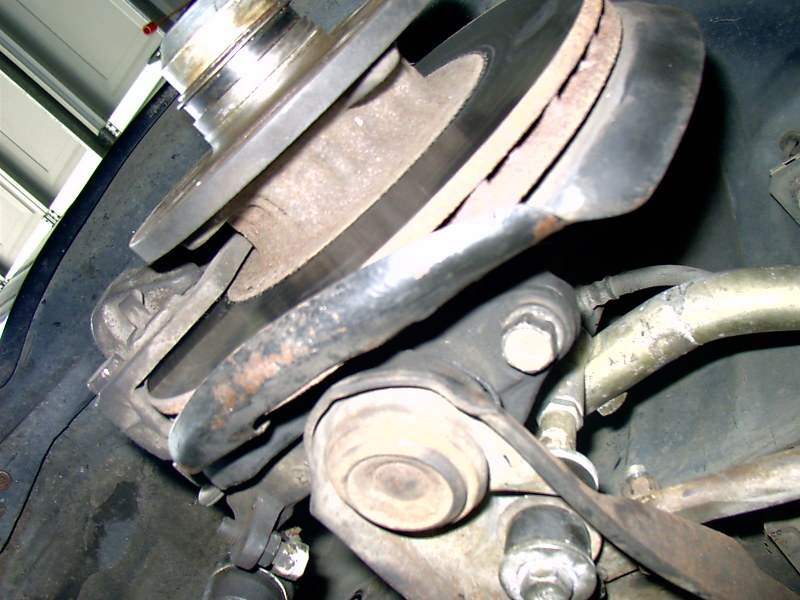
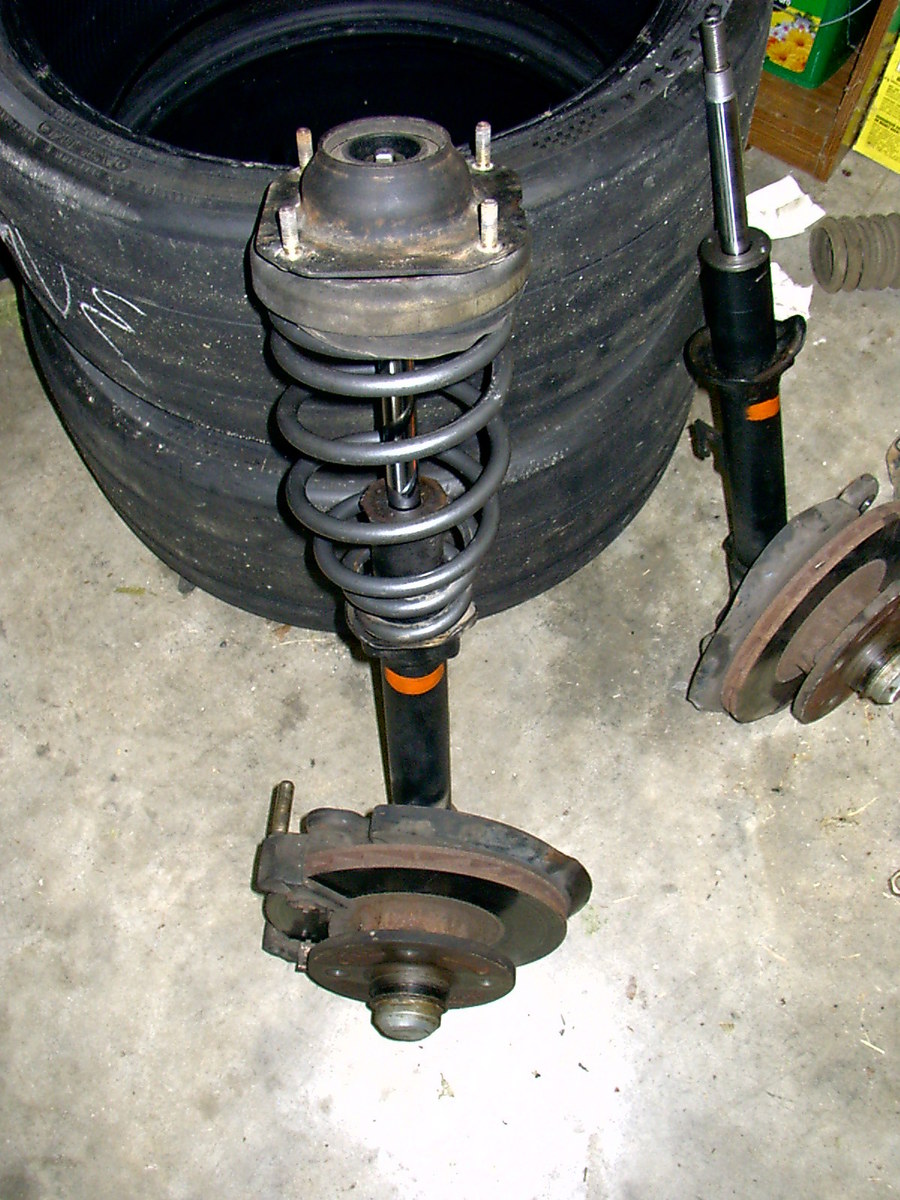
This will allow the front suspension to be removed from the car. I had to pull up on it to loosen it from the bottom and then pull the bottom free. Then it just slides out toward you. Then you're left with this and it is a good time to replace old worn out bushings.
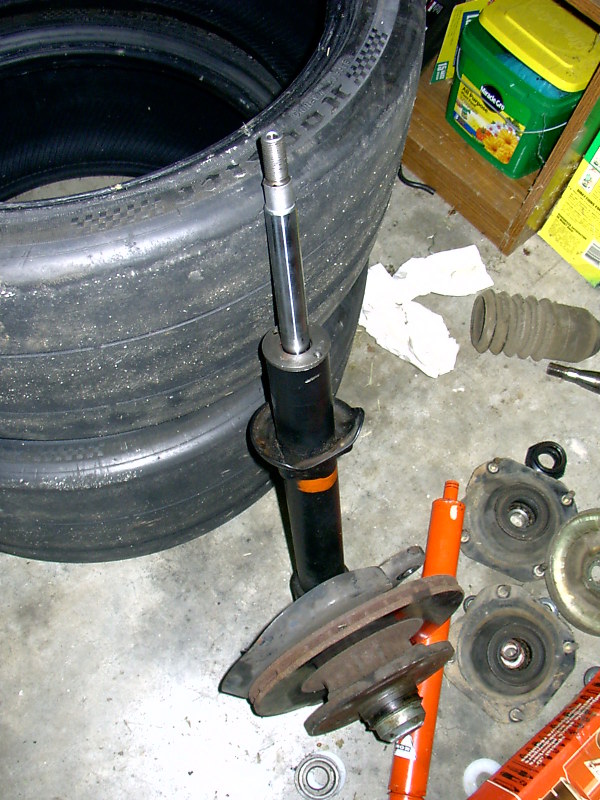
Then use a spring compressor to compress the spring in order to safely remove the top plate of the strut assembly with the 21mm nut on top. Some people remove this while the car is on the ground and let the jacking of the car uncompress the spring loose. I opted not to do this. Once the spring was compressed, I hit the top nut with the impact wrench and it came loose after a few shots. The strut will turn inside, so I would recommend an impact gun. It really simplified the whole task.
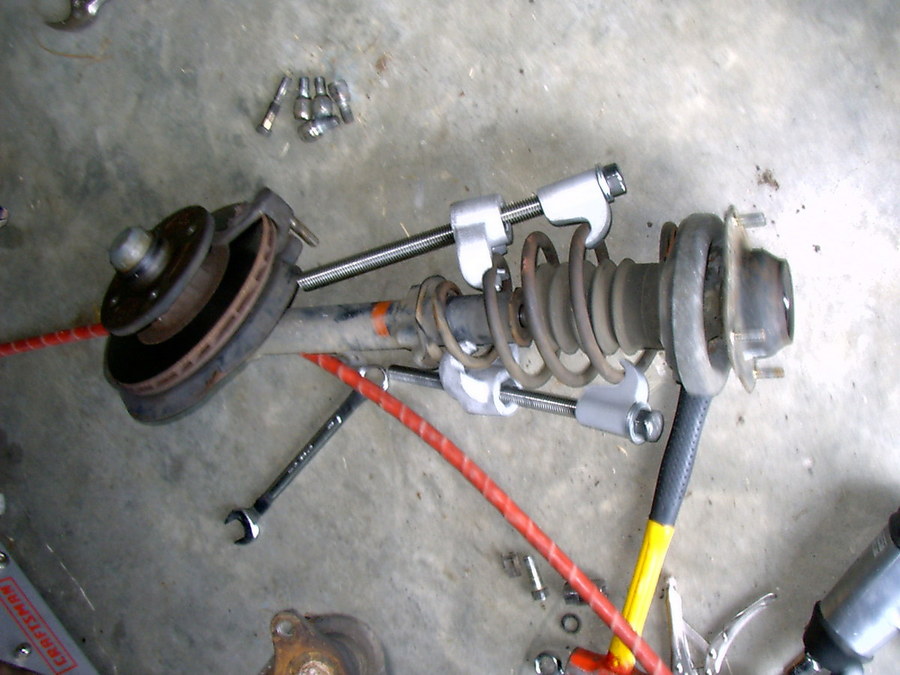
Here's the 21mm nut to take apart the assembly.
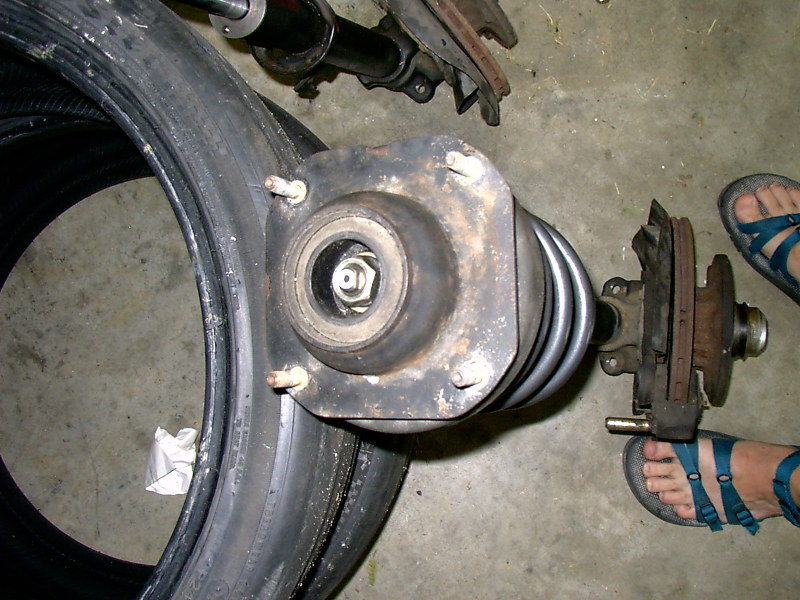
With the stut apart (strut top plate, nut, washers, spring top plate, spring, & rubber stop) , I unscrewed the strut insert retaining nut completely off. Then I pulled the insert out of the strut tube. The way I did this may be a little unorthodox. I put the top plate on and tighted the nut a little. Then I grabbed the plate and braced the brake rotor with my feet. Then it was doing rows at the gym.
 With a hard pull, and some straining and cursing, the insert came out. Be sure to put paper towels out of a bowl to catch the fluid in. It can get messy.
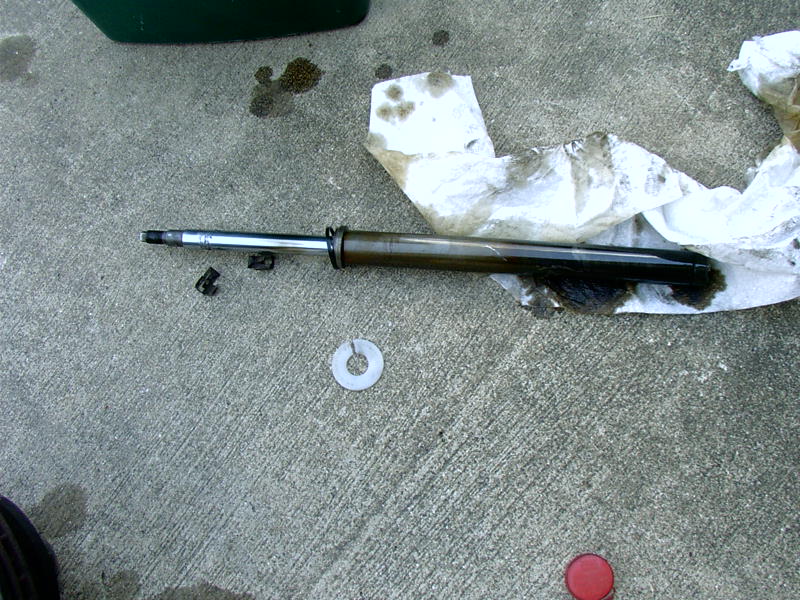
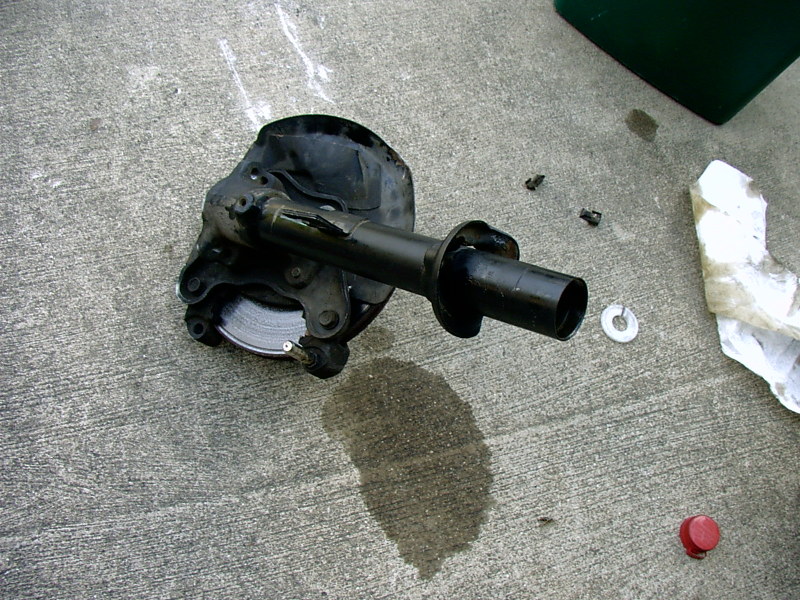
I threw the old insert away and cleaned up the inside of the strut tube. I poured in a little bit of antifreeze to help dissipate the heat during use. Then the Koni red was inserted. I had to cut the bottom notch for it to fit. There is a place marked for this. I just used a hack saw. The Koni comes with it's own retaining nut.
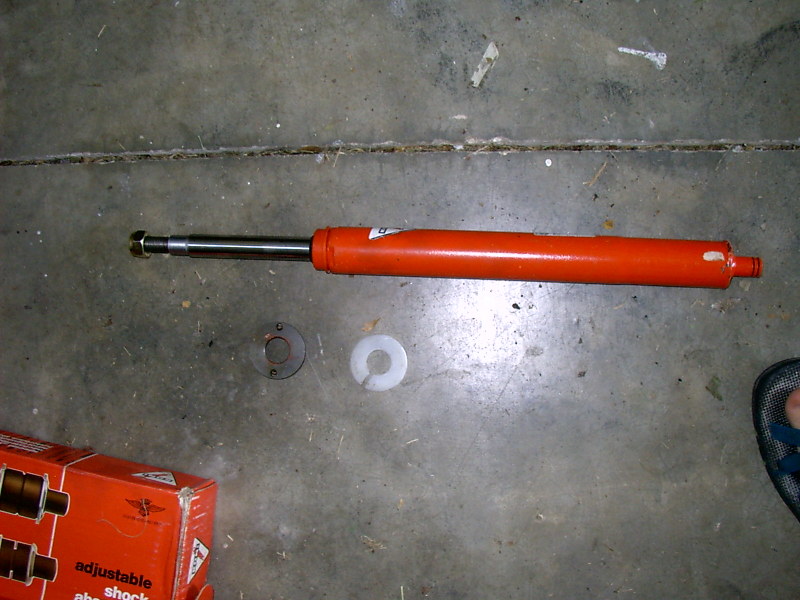
With the Koni inserted and the retaining nut in place.
For reassembly, I didn't need to compress the springs. They were short enough that I just had to hold the strut out and put everything back in place in order.... Rubber Stopper, Spring, Spring top plate, washer, strut top plate, washer, lock washer, then 21mm nut. This I tightened again with the impact gun.
Reinstallation was the reverse of removal. Driver and passenger are the same.
Some hints :
Have a friend align the top bolts while you lift the strut to hook up to the control arm. Makes life easier.
Also, there is a natural outward angle to the strut. If the top plate is rotated toward the inside 90 degrees, the angle will change to be slightly forward. There is a little arrow on this originally pointing towards the front outside stut tower bolt. It should now point towards the front INSIDE to move the geometry. This slight forward angle of the strut will produce more of a negative camber in the outside wheel when the wheel is turned.
The overall drop in the car ended up being about an inch. The Koni Reds are also MUCH stiffer than stock so the car feels great. With the aftermarket front swaybar and strut brace, the car feels very solid and has minimal roll during cornering. I'm very happy with this upgrade. The next autocross in the 9th, so that will tell.
If anyone has any questions at all or wants any extra detail, comments, or if I got anything wrong please let me know. If there are any additional hints of suggestions, I'd love them. I'm sure I'll do this again since this is going to be a full track car soon and more racing suspension will eventually find itself on the car.
Thanks! Hope this helps folks out.